Try this budget friendly DIY project for beginners.
DIY window picture frames are the perfect Saturday project for beginners.
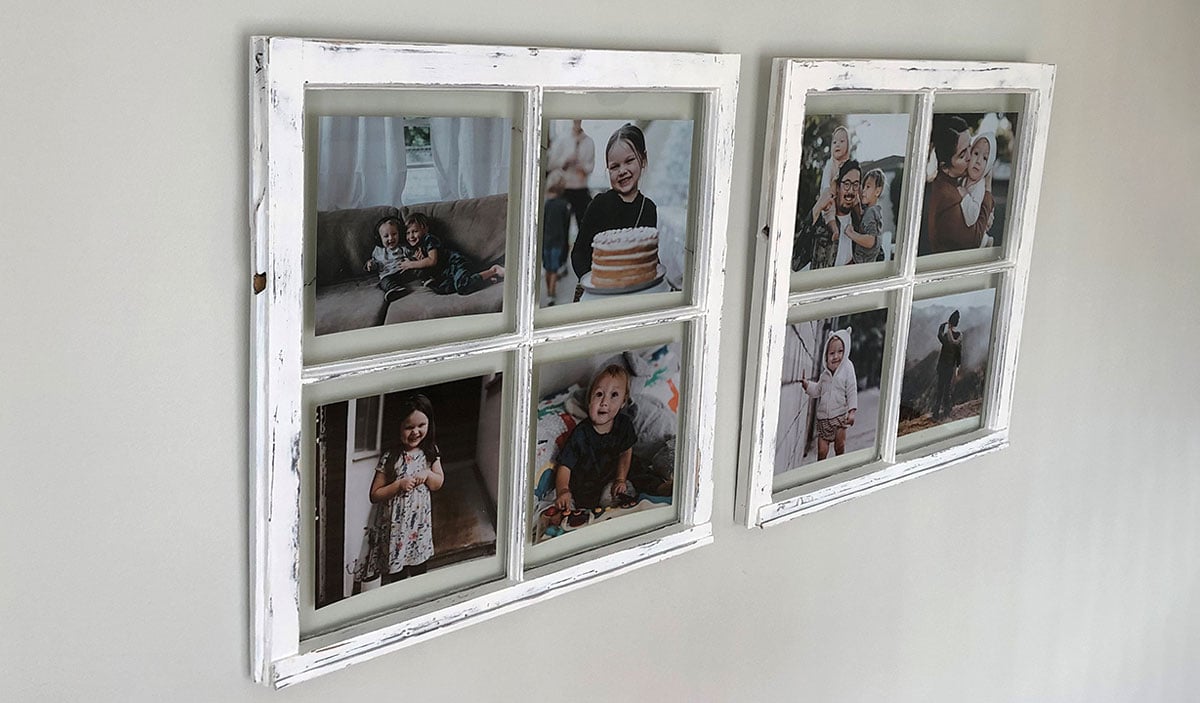
If you’re looking to get creative and spruce up your décor, this DIY project is for you. Window picture frames are the perfect Saturday project for beginners. Best of all, it’s a budget friendly way to decorate. Get started with the instructions below.
Materials you will need for window picture frames.
-
Two antique windows with panes
-
Any color base paint
-
White paint for top coat
-
Paint Brushes
-
Sander / Sandpaper
-
Two eye screws
-
Wire
Directions for the window picture frames.
- Sand the windows to remove old paint.
- Paint the windows with a base layer color. Let dry.
- Paint the windows with your top coat color. Let dry.
- Using a sharp blade, scrape excess paint off that may have got on the glass.
- Lightly sand the windows to expose the base layer color.
- Print out pictures and tape to the back side of window glass facing down.
- Screw in two screws on both sides of the back of window at even height.
- Using wire, wrap it around the screws until it feels tight secure.
- Place two nails in the wall at even height, making sure the width is far apart enough to leave a small gap between the frames
- Hang the windows by the attached wire on the backside. And you’re all done!
Video directions for the window picture frames.
Topics: Pocket Change